EVESTIMENTO EM TECIDO - SOUSPLATS PASSO A PASSO
A pedido de algumas blogueiras estou passando como confecciono estes sousplats. Para quem mora na grande Florianópolis eu indico as professoras da loja Pequenos Detalhes no bairro Kobrasol em São José, elas são maravilhosas e entendem do assunto, as aulas são regadas de muitas informações e alegria das alunas e professoras. Quem tiver interesse entre no site e conheça mais sobre a lojahttp://www.pqnosdetalhes.com.br/. A loja está completando 15 anos no mês de agosto e estará de casa nova. Vale a pena conferir. O Jornal de artesanato que circula na região também nos dá muitas dicas de como fazer alguns artesanatos, mas nada como ir em um curso com professoras que nos ensinam com dedicação.
Material para o sosuplats:
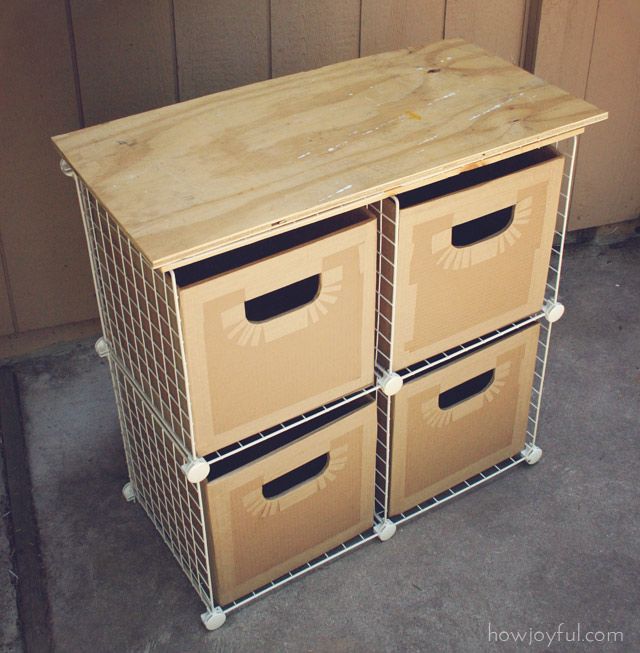
-sousplats de madeira
-tinta
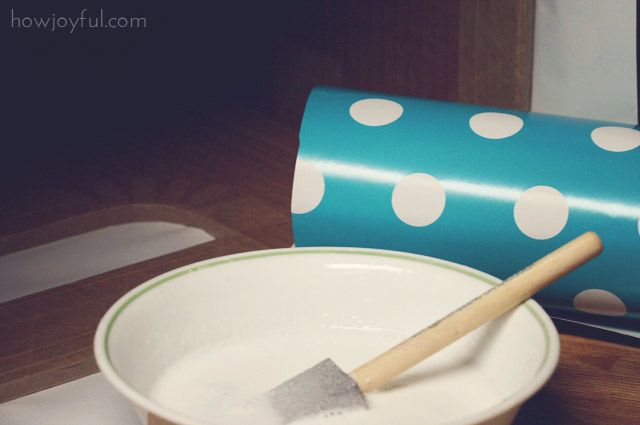
-cola
-tecido
-rolinho de espuma e pincel
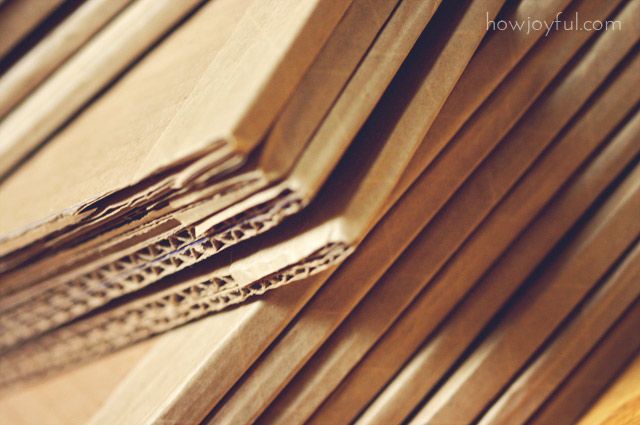
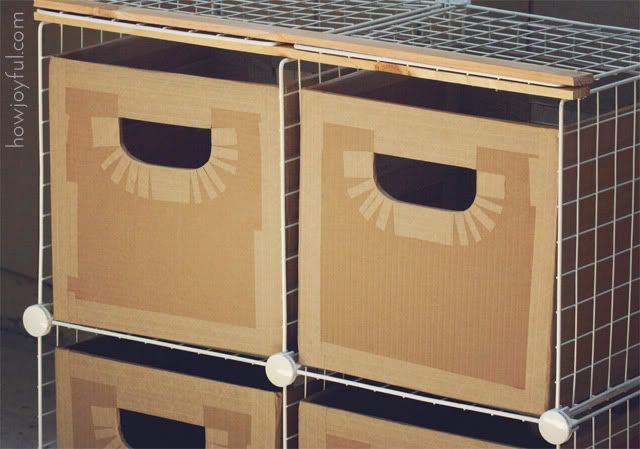
-papelão fino tipo cartão
Como fazer:
Pinte a peça com fundo branco

Depois de seco recorte o tecido com mais ou menos 5 cm a mais do tamanho do sousplats

Cole o tecido na parte de cima esticando bem para não formar bolhas

Cole as laterais e a sobra do tecido no fundo do sousplats

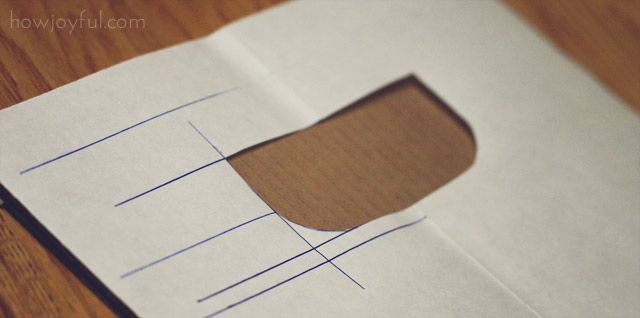
Corte o papelão um pouco menor que o sousplats

Recorte o tecido com mais ou menos 1cm a 2 maior que o papelão
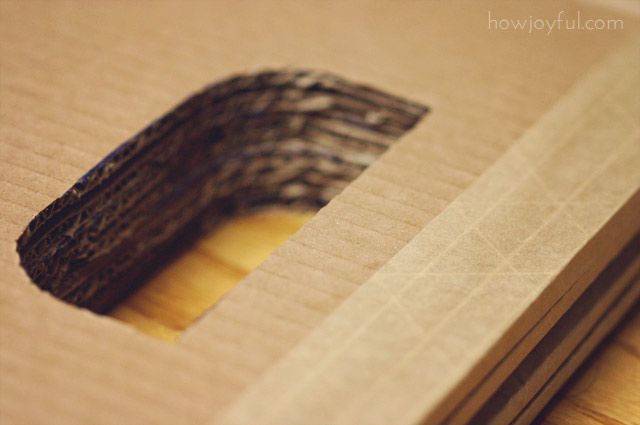
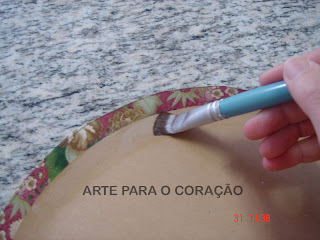
Passe cola um pouco diluída no papelão. Aqui aparece branco pois o que eu trabalhei tinha um lado pardo e outro branco

Cole o tecido sobre o papelão, Passe cola no outro lado do papelão para colar a sobra do tecido.
 Desta forma

Agora passe cola em todo o lado do papelão que ficou com a borda virada (avesso do papelão)

e cole sobre o avesso do sousplats

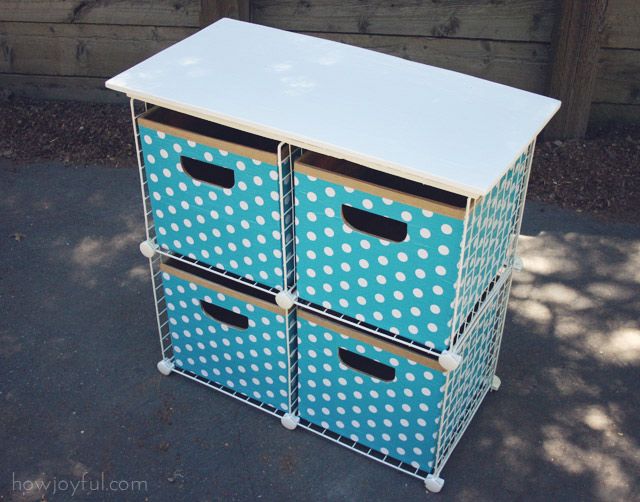
Deixe secar e está pronto

Agora mãos a obra façam os seus. Mas deixo a dica, até parece fácil mas não é não, tive que fazer várias aulas para pegar o jeito. Boa semana a todas, pois agora na segunda volto ao meu trabalho e o tempo aqui vai ser curto.
Material para o sosuplats:
-sousplats de madeira
-tinta
-cola
-tecido
-rolinho de espuma e pincel
-papelão fino tipo cartão
Como fazer:
Pinte a peça com fundo branco

Depois de seco recorte o tecido com mais ou menos 5 cm a mais do tamanho do sousplats

Cole o tecido na parte de cima esticando bem para não formar bolhas

Cole as laterais e a sobra do tecido no fundo do sousplats

Corte o papelão um pouco menor que o sousplats

Recorte o tecido com mais ou menos 1cm a 2 maior que o papelão

Passe cola um pouco diluída no papelão. Aqui aparece branco pois o que eu trabalhei tinha um lado pardo e outro branco

Cole o tecido sobre o papelão, Passe cola no outro lado do papelão para colar a sobra do tecido.
 Desta forma
Agora passe cola em todo o lado do papelão que ficou com a borda virada (avesso do papelão)

e cole sobre o avesso do sousplats

Deixe secar e está pronto

Agora mãos a obra façam os seus. Mas deixo a dica, até parece fácil mas não é não, tive que fazer várias aulas para pegar o jeito. Boa semana a todas, pois agora na segunda volto ao meu trabalho e o tempo aqui vai ser curto.
Obs: Do blog arte para o coração.